When you work with electronics PCBs are very important.They are essential for circuits.PCBs have so many benefits than strip boards and dot boards and they last longer.Before going any further if you need to design your PCB from circuit schematic read our article on PCB Designing With Eagle CAD to design your PCB like a pro.
In this article I'm going to teach you how to make PCBs using toner transfer method.This is very easy if you have all the materials at home.If you have a laser printer at home its going to be more easier.But before printing the PCB you need to edit the .ps file you printed using EAGLE CAD CAM processor to make more copies and get the most from your papers.To do so you need a photo editing software like Photoshop and GIMP.Let's get to work.


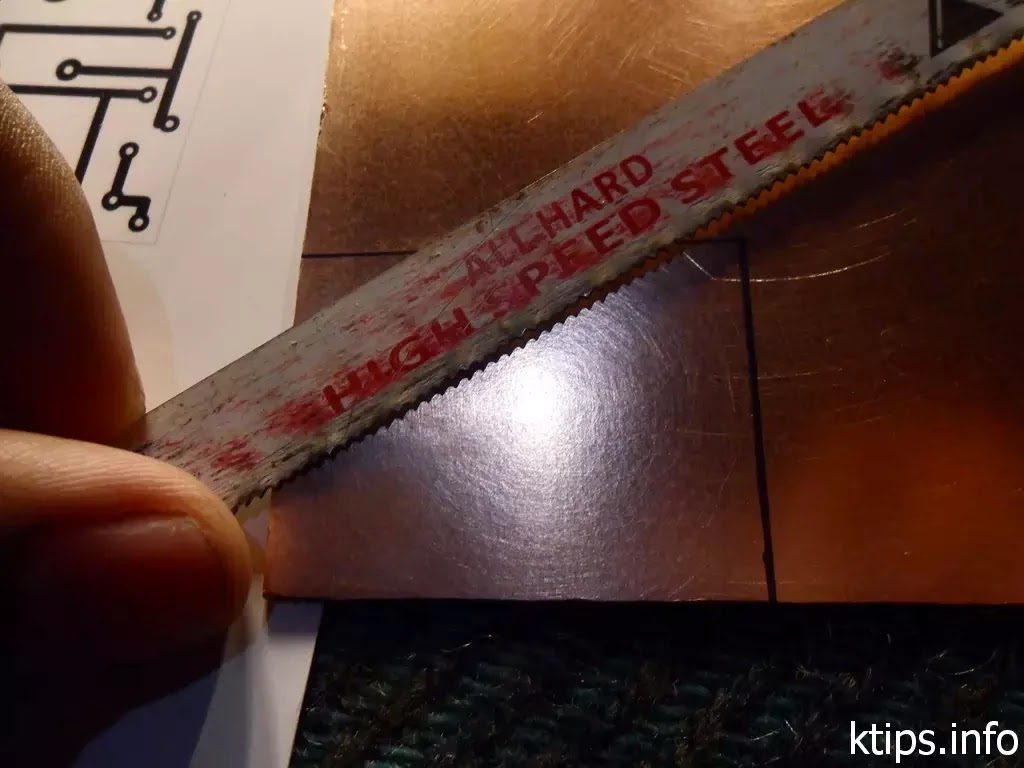
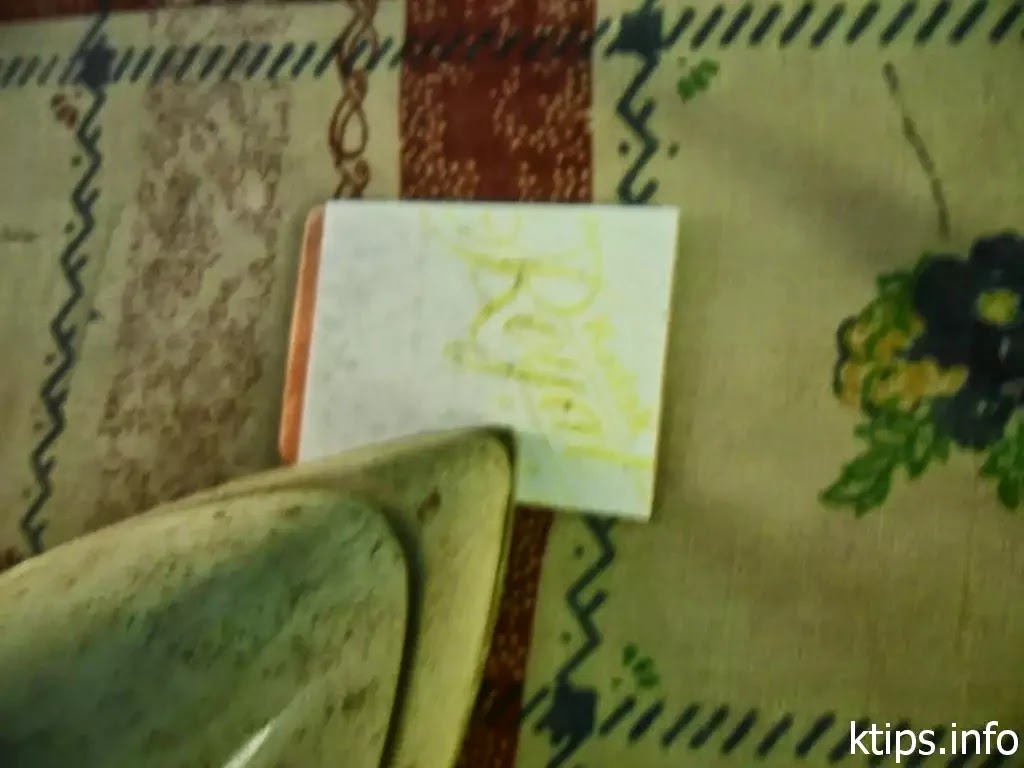
#5.Now cut out the copper board with the hacksaw blade or your hacksaw.I just use the blade as the hacksaw can damage the board when cutting.
#6.Now place the circuit that you cut out earlier from the photopaper upside down on the piece of copper board that you just prepared.Stick it to the board with a little piece of tape.Just use it at one side only.
 #7.Most important step.Take your clothes iron and acetone it.Or you can use alchohol item no9.Its better if you can use a old one.Set it to the cotton (about 2000C) temp.Once its hot start ironing the photo paper on to the copper board from a corner.When the paper is sticked to the board well remove the piece of tape.You need to do this in the first 1 or 2 mins.Do not iron above the tape it will melt and you will have to redo the ironing after acetone and you may have to use another copy of circuit.
After about 5 mins of ironing you may see that there are air bubbles between the photo paper and the copper board.Switch off the iron and leave the iron above the photo paper and the board for another minute or two.
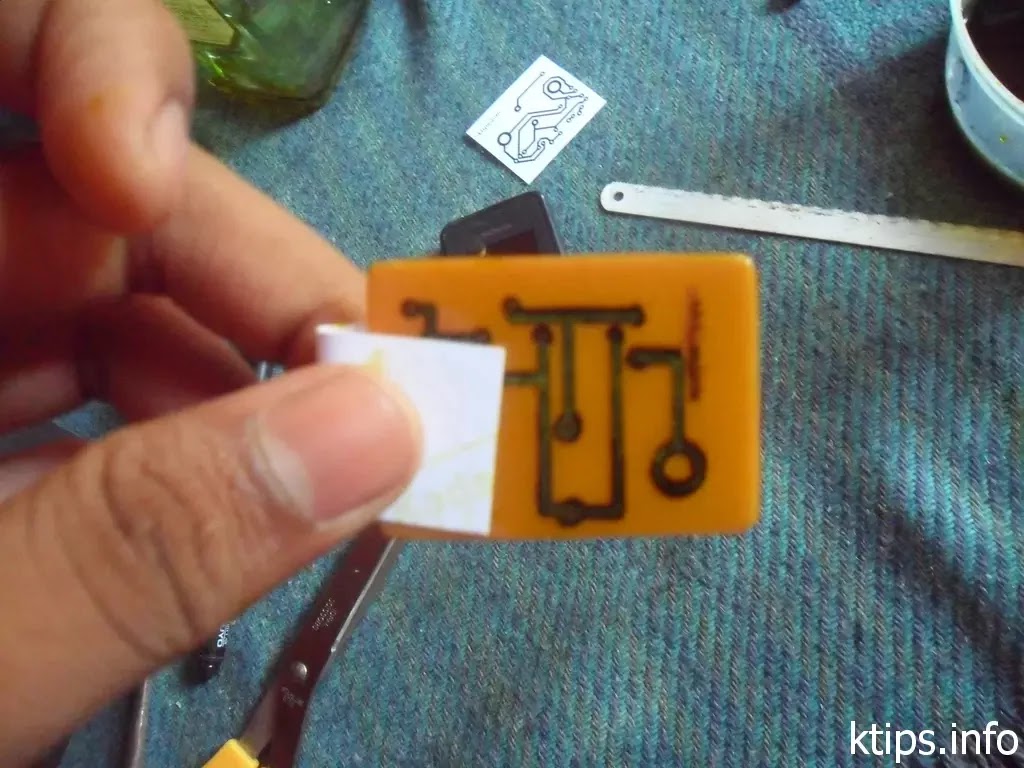
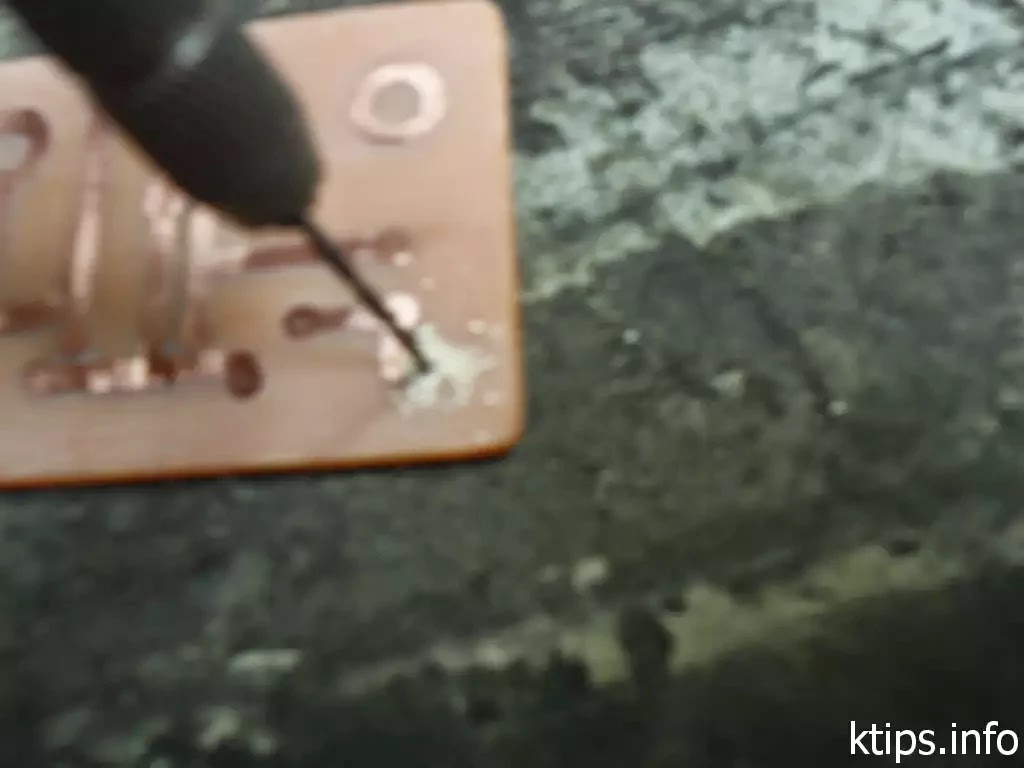
Now remove the photo paper using a pointy tool starting from a corner.
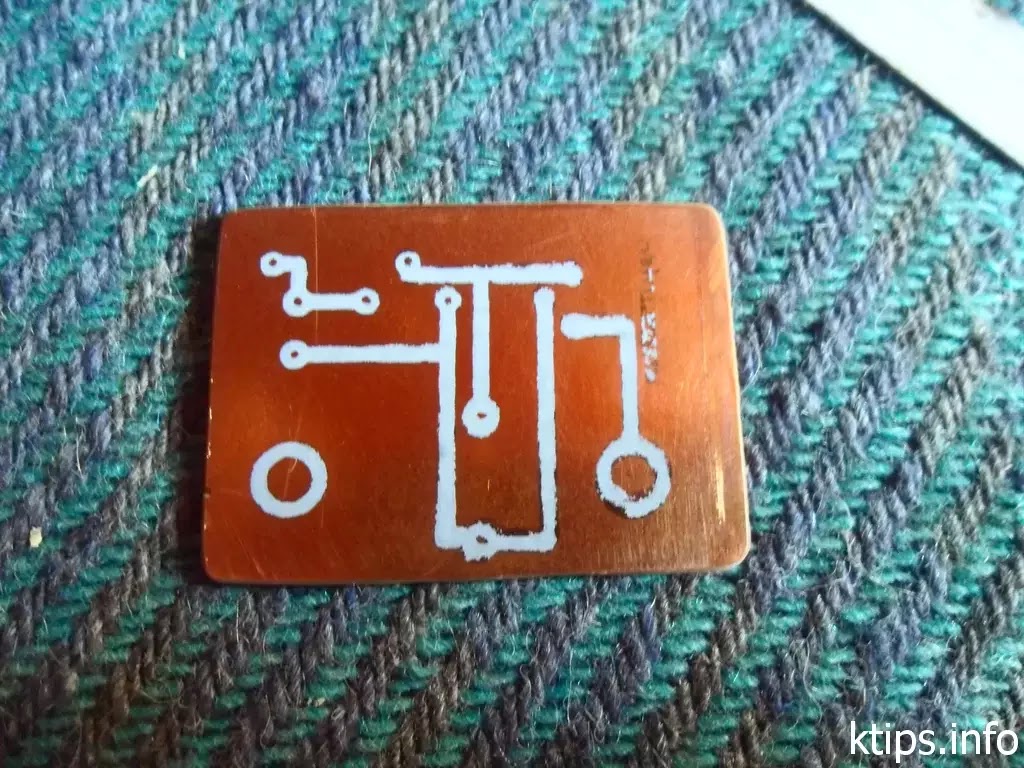
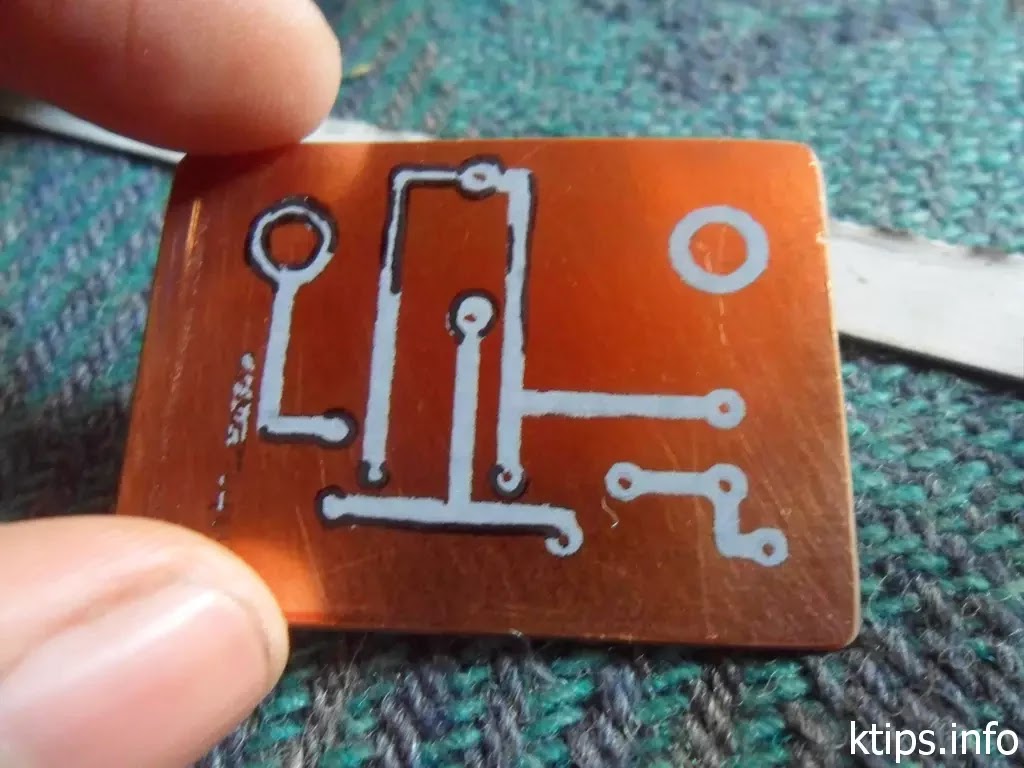
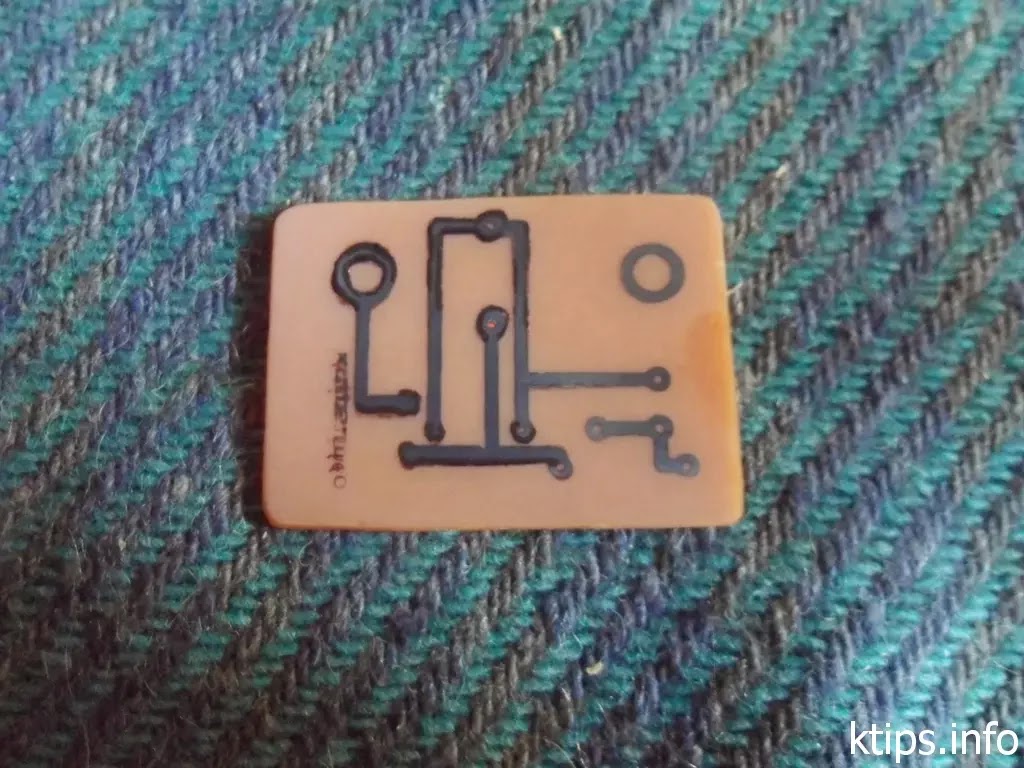
You should see the laser toner tracks nicely sticked to your copper board.Now you can see the problem that I had to face because I didn't mirror the print.The text is mirrored.If you checked mirror in Eagle CAD Cam processor you don't need to mirror it again in printing wizard.
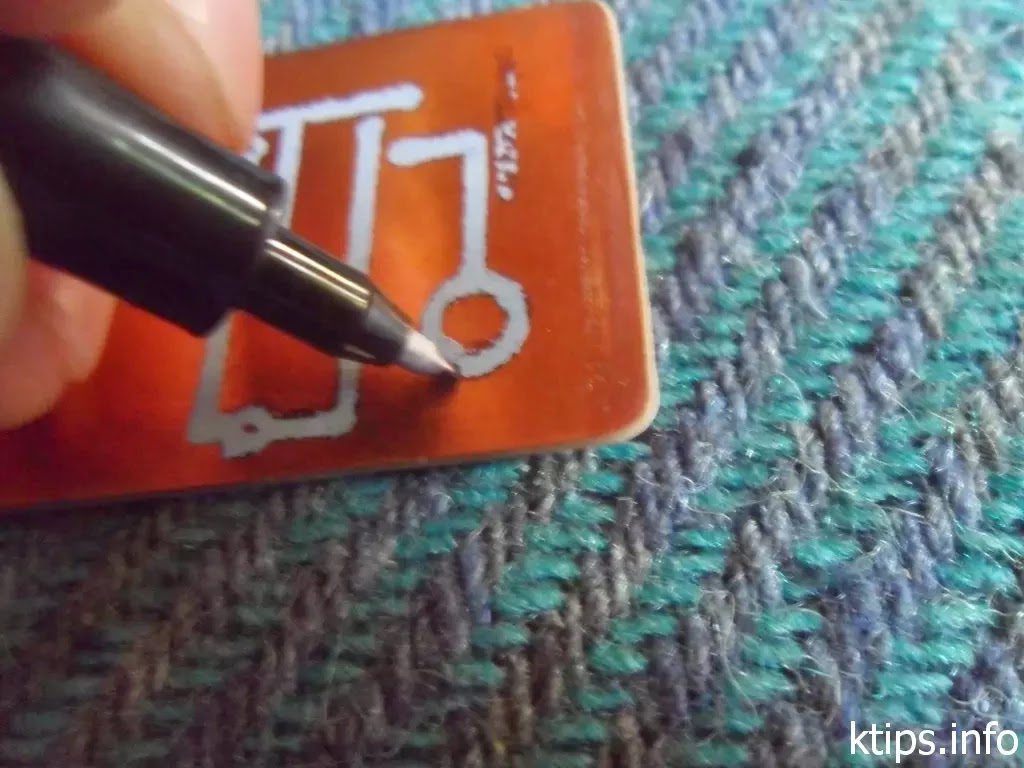
Now take your water resist pen and draw the damaged tracks.
Do not draw on the same track twice.Trust me if you do you'll suffer the consequences!

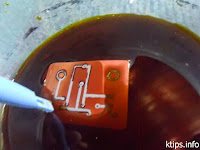
Now put the copper board in the the Ferric Chloride solution and drown it.Shake the bowl up a little bit to speed up the reaction.Hot water will also speed it up.
After few minutes you will see the Ferric chloride is doing its job very well , the unwanted copper areas are being ate by ferric chloride.

In this article I'm going to teach you how to make PCBs using toner transfer method.This is very easy if you have all the materials at home.If you have a laser printer at home its going to be more easier.But before printing the PCB you need to edit the .ps file you printed using EAGLE CAD CAM processor to make more copies and get the most from your papers.To do so you need a photo editing software like Photoshop and GIMP.Let's get to work.
Editing .PDF files for toner transfer print out
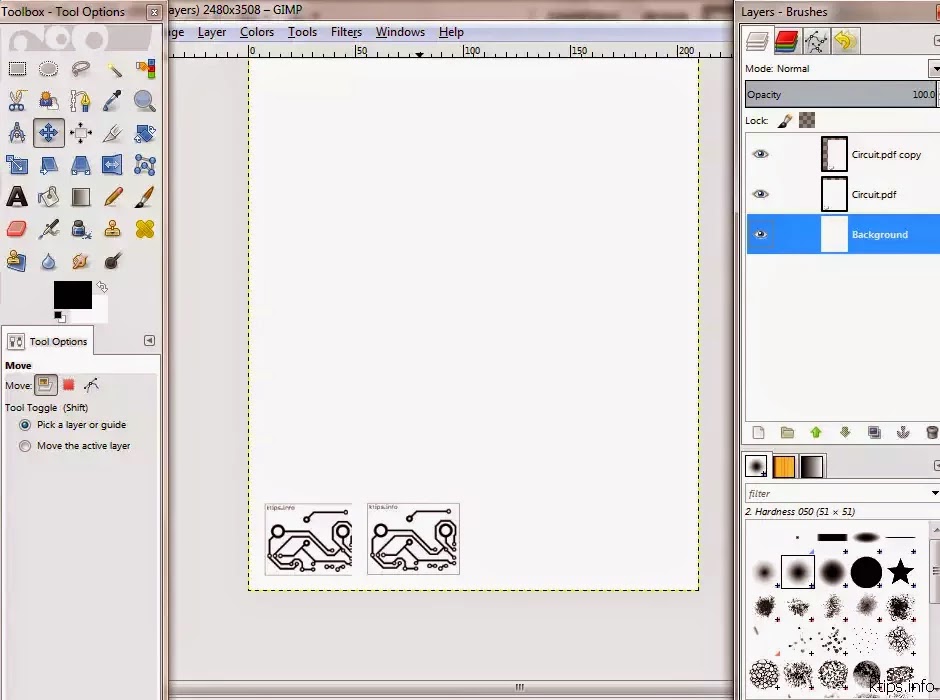
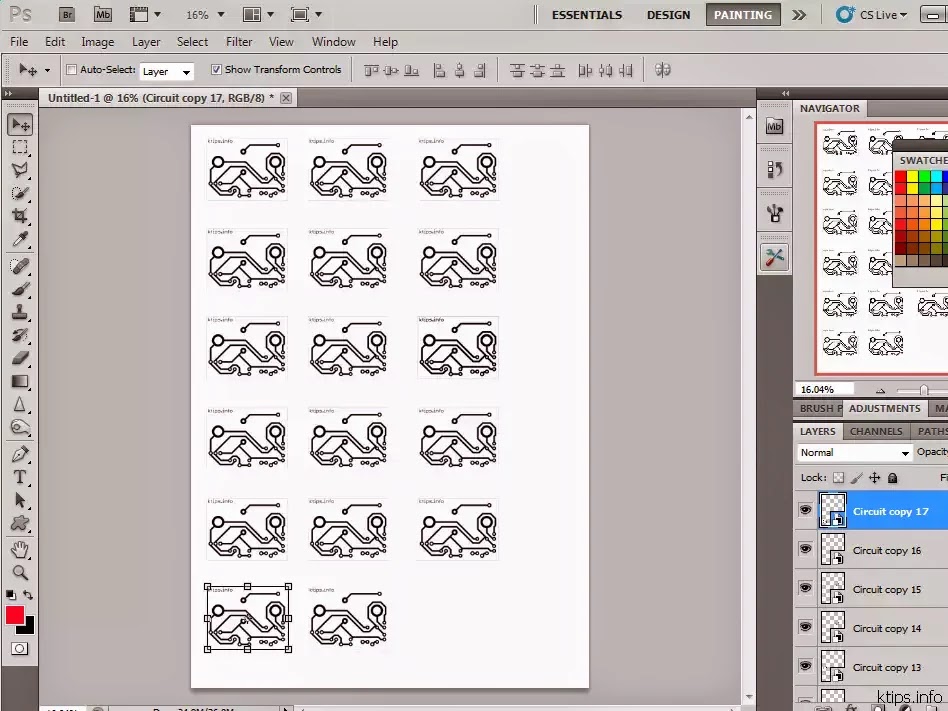
ps2pdf.com and convert your files to .pdf first.You can also use any other online or offline converter.But DO NOT change any DPI values or page sizes.#2.Open Adobe Photoshop.(You can use free GIMP also).Create a new file using international paper preset > A4 size.If your circuit is larger than a A4 paper choose A3 or a larger paper.Do not change nay other option.In GIMP you can your A4 or desired template.
#3.Now drag and drop the pdf file to the editing area.Do not use File > Open.Do not change any setting in Place PDF window.Click OK.If you're using GIMP after you drag and drop the PDF file
Import from PDF file will open.Change the PPI value to 300 and click Import.The PDF will be added as a new layer.
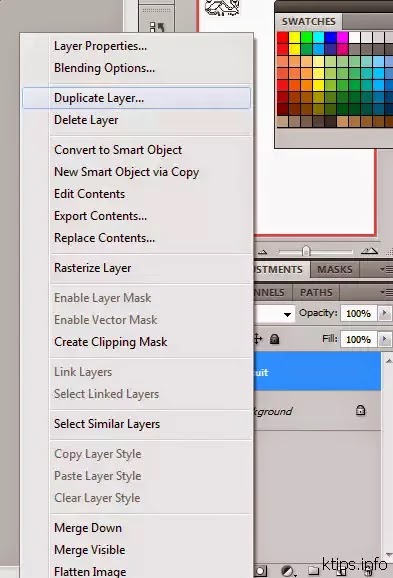
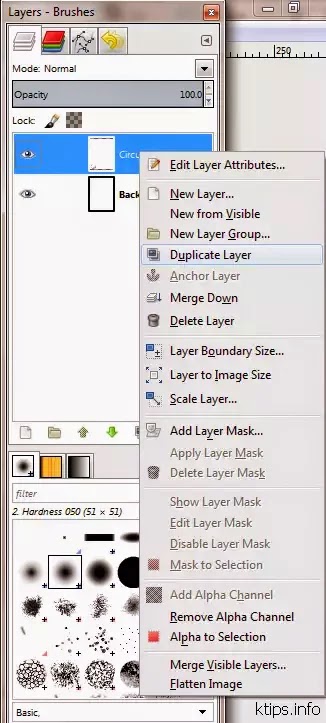
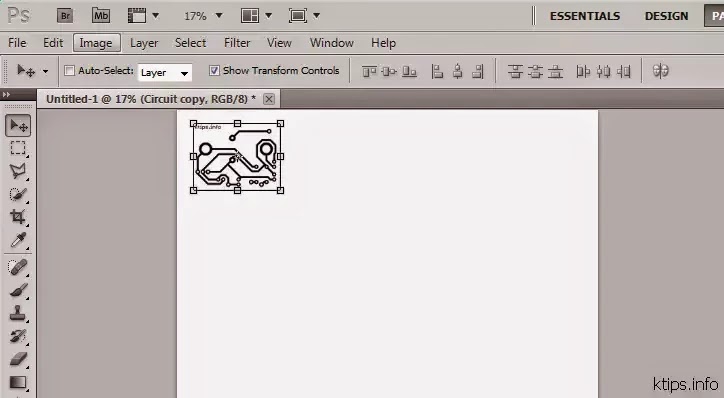
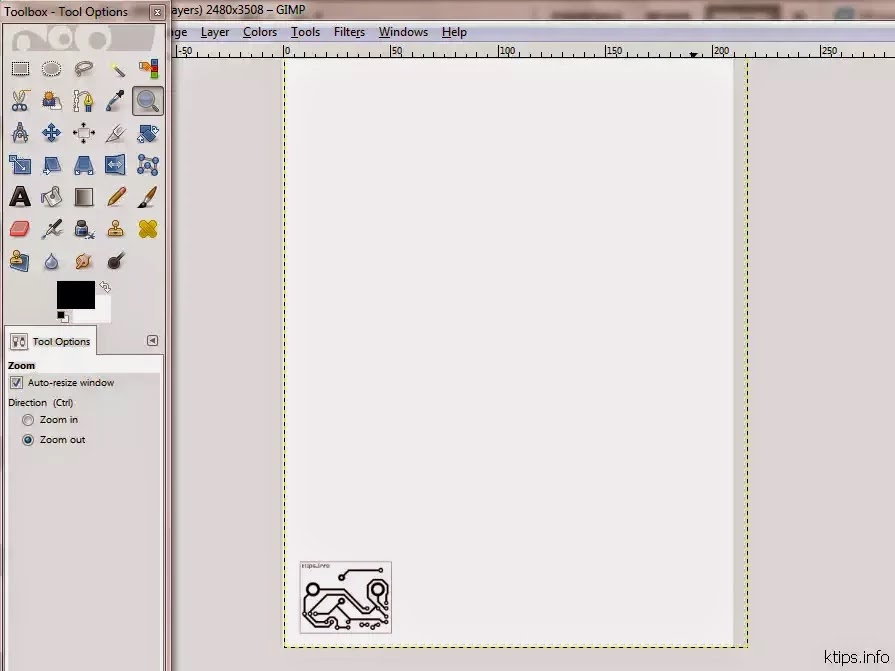
#4.Select the new layer and duplicate it.A new layer will be created above the first one.Now place the new layer in a free space of the page.Do the same process until you run out of space in the page.But 3 or 4 copies will be enough.Now save it as a .jpg file.Set the maximum quality.
 |  |  |
 |  |  |
 |
Making the Printed Circuit Board
Now the real fun begins!
This is really an interesting project for guys who are new to chemistry.Here's a list of items you need.
- Copper clad board(Matching your circuit size)
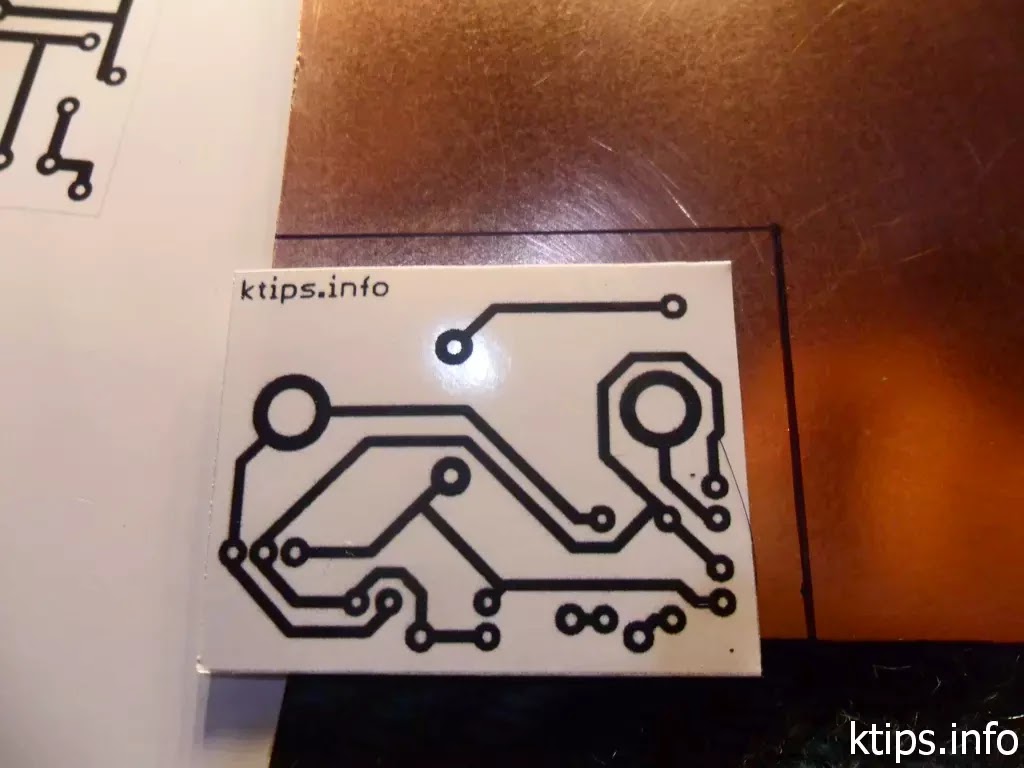
- Print out of your circuit layout on a photo paper
- Ferric Chloride (diluted) about 200ml , bigger your circuit more ferric chloride
- A plastic glass or ceramic bowl
- A clothes iron
- Detergent cleaner
- A pair of scissors
- Hacksaw blade or a hacksaw/Grinding machine with a wood cutting blade
- Acetone/Thinner/Alcohol
- A water resist pen
- A ruler
- Tape
- Plastic twissers
- Sand papers 300 and 600
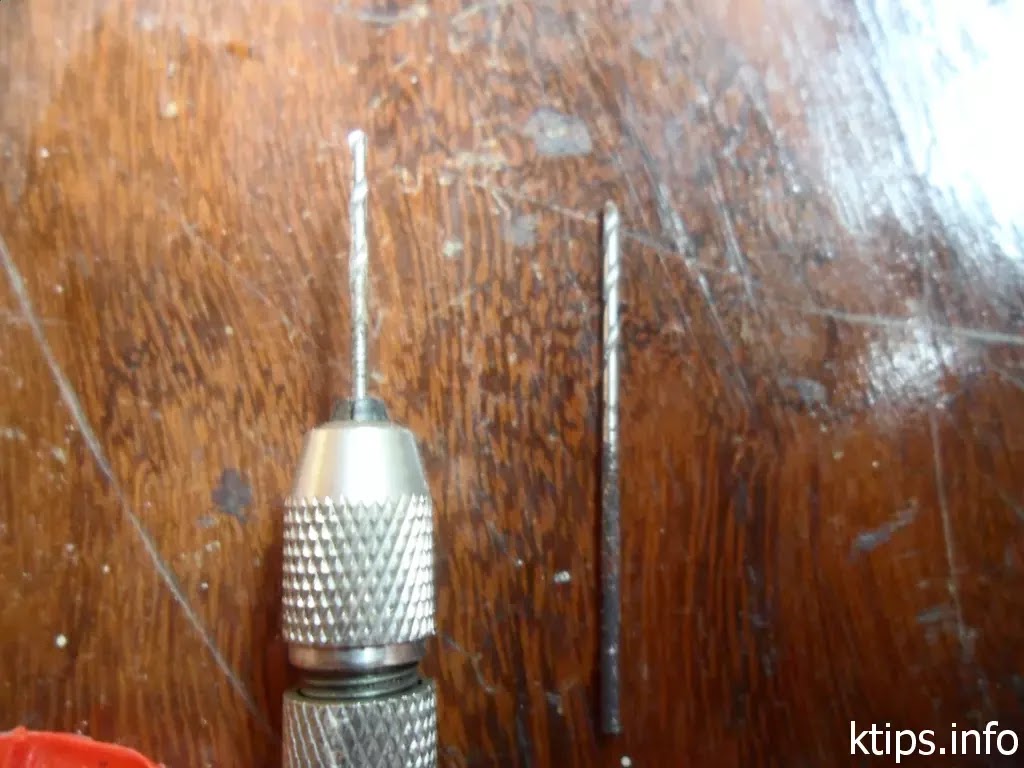
- Hand drill with a 0.1mm drill bit.
- One or two hours of time
- Patience
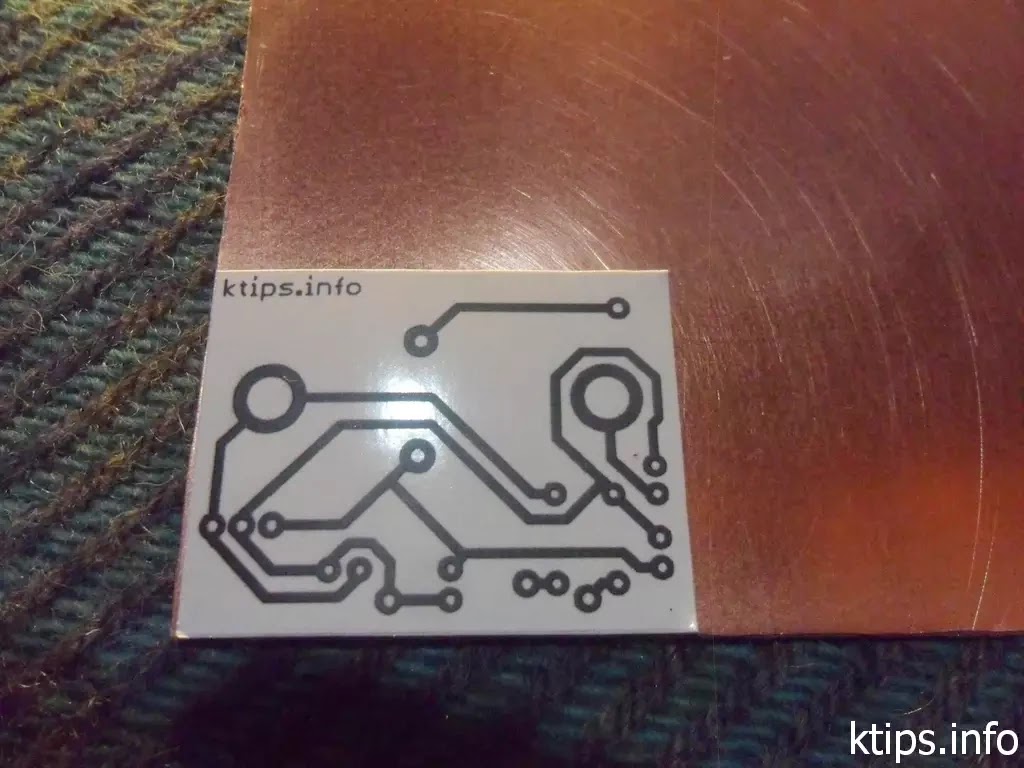
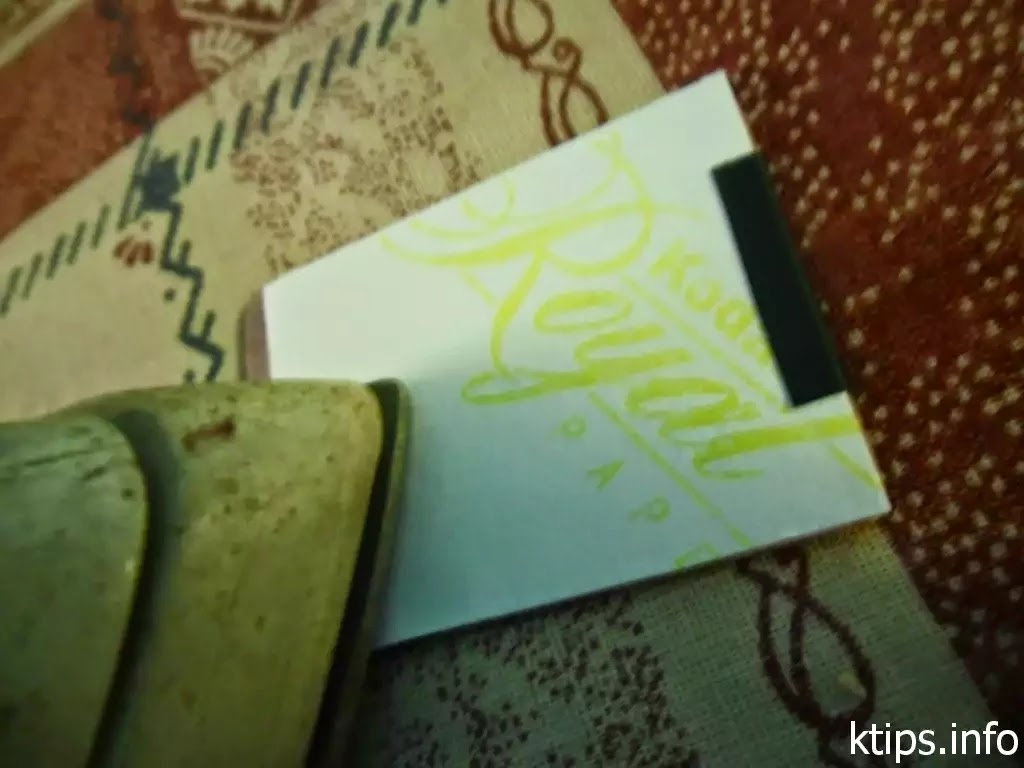
#1.Take your print out.I've used Kodak Royal photopaper.I don't have a laser printer at home and I got it printed from a shop.It just cost me $0.60.So try to use the best paper.If you're using home printer make sure you use the photo paper made for laser printers.Photo papers made for inkjet printers will not work and do not even try.When printing increase the thickness and do not change any DPI values nor sizes.Make sure to get a mirror print.I forgot it and you'll see the result at the bottom.You cannot fit any IC correctly if you don't mirror print! In eagle CAD the circuit is already in mirror view,so you don't have to select mirror again in CAM processor.
#2.Now choose the best looking copy and cut it out.
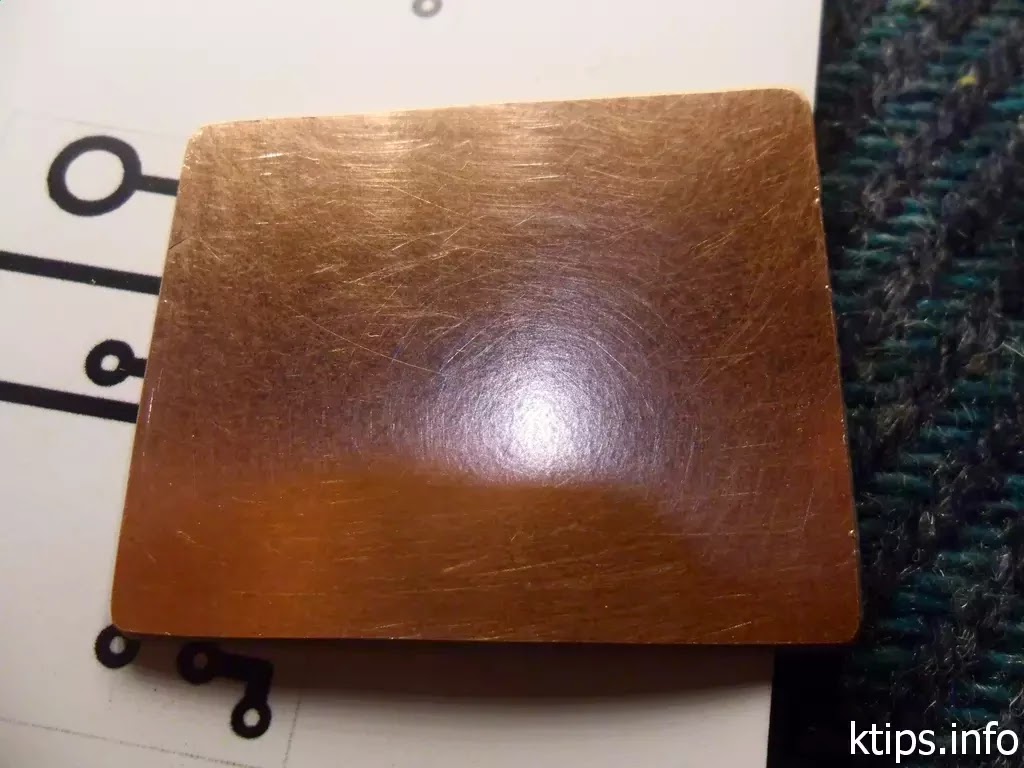
#3.Now wash your copper clad board with the detergent cleaner.Do not use soap.Rub it well with a brush so the oxides on the copper layer will be gone and the board will shine.

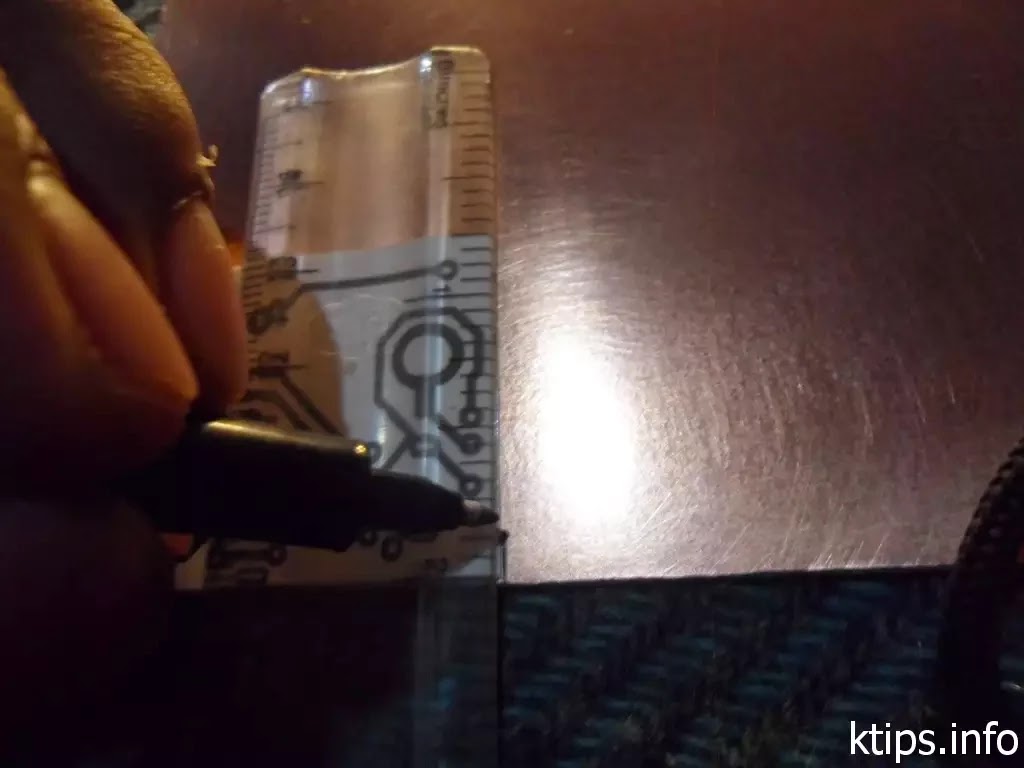
#4.Now place the circuit it at a corner of the copper board and draw a rectangle of its size.Use a ruler.
 |  |  |
 | 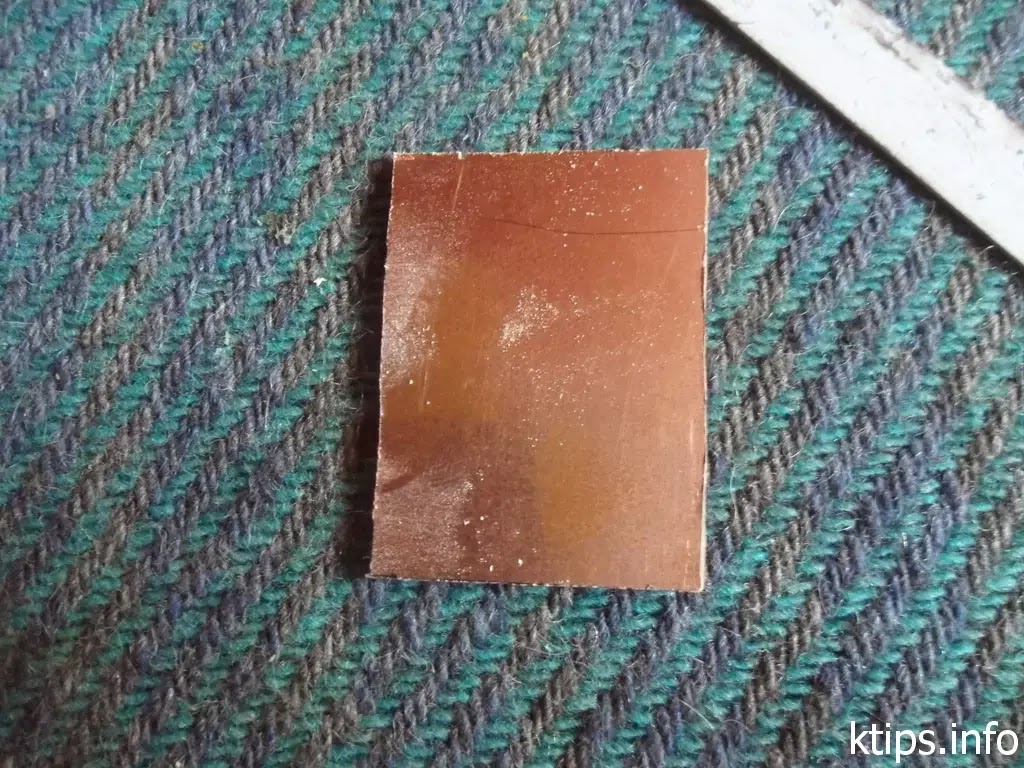 |
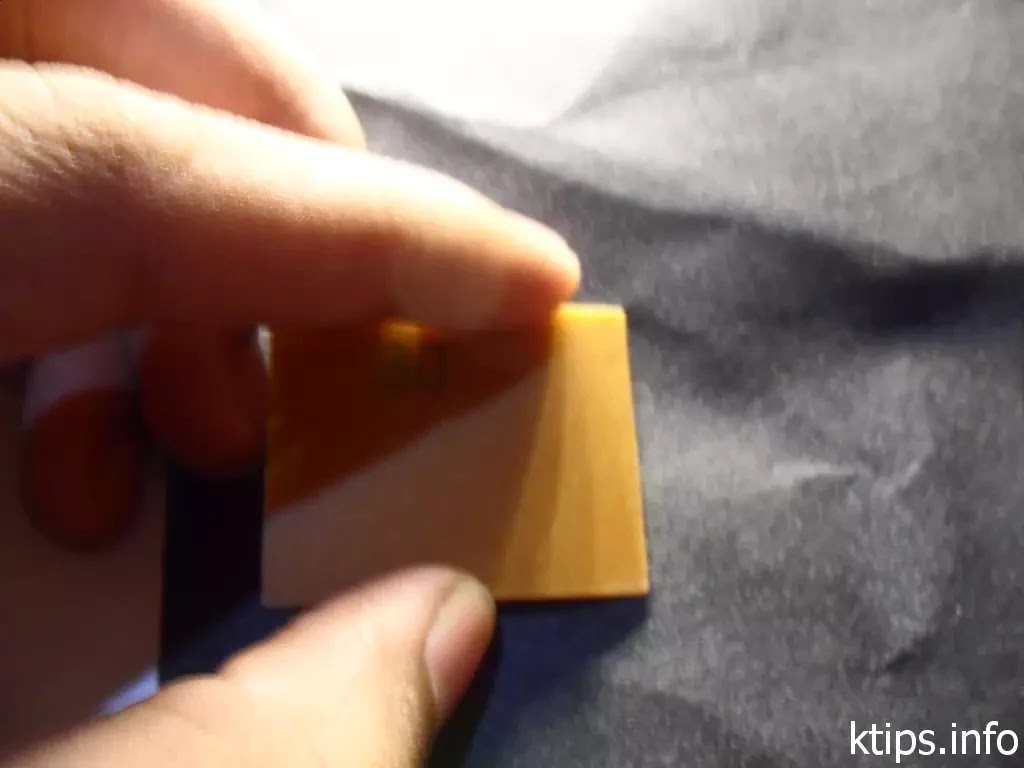
Now rub the edges with 300 grit sandpaper to make it smooth.I've rounded the corners also.But do not round the corners if the circuit has paths near corners.Clean the piece of board with a cotton cloth.It must be very clean no liquid nor dust can remain.
 |  |
 |  |
Now remove the photo paper using a pointy tool starting from a corner.
 |  |
Now take your water resist pen and draw the damaged tracks.
 |  |
#9.Etching!!! Take your ceramic or plastic bowl.Put Ferric chloride solution into it.Don't use too much , just need to drown the board in it.If you're using a ceramic bowl put some hot water to the solution.
The bowl used in here CANNOT BE USED AGAIN FOR PREPARING FOOD!!! And of you CANNOT use any metal here because Ferric Chloride will eat it! And be careful not to swallow any ferric chloride.Its not very much poisonous but there may be a very little risk of heavy metal poisoning.And be careful Ferric chloride can eat most of the metals in your house.
Now put the copper board in the the Ferric Chloride solution and drown it.Shake the bowl up a little bit to speed up the reaction.Hot water will also speed it up.
 |  |
After its completely done take it out with a plastic twisser and wash it with water.Do not wash it in the sink at the kitchen,its made out of metal and the ferric chloride will ruin it!
 |  |  |
After washing it with water wash it again with alcohol,thinner or acetone.Wipe it with a cotton cloth and take your 600 grit sandpaper and rub the copper tracks.
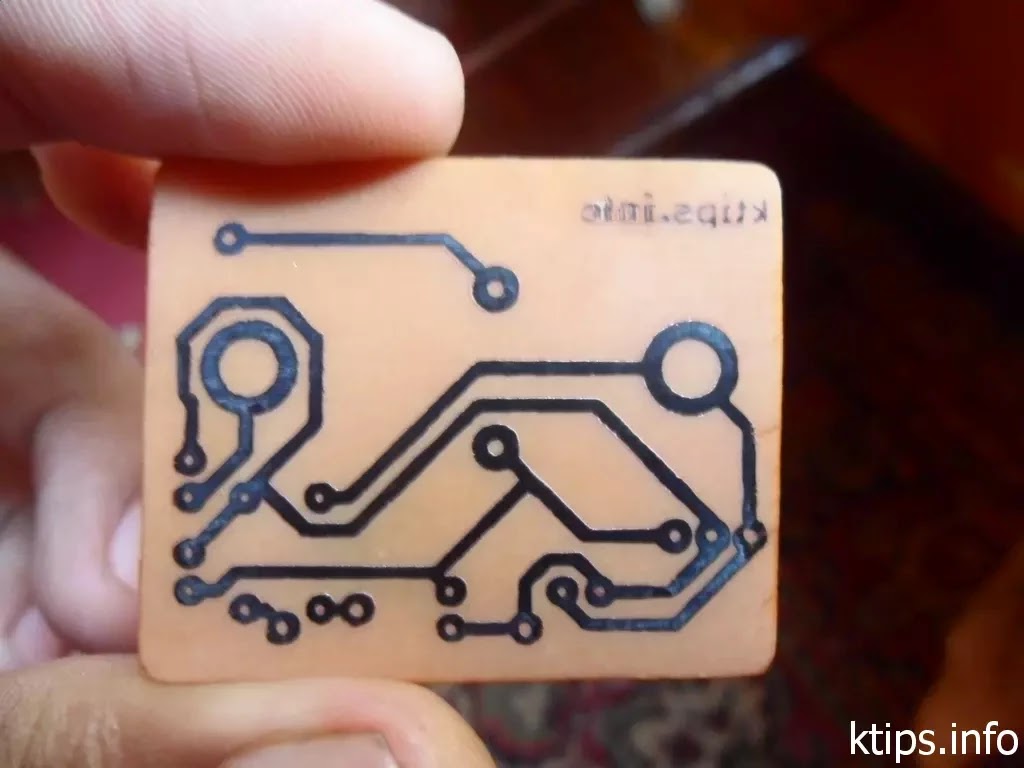
And you'll get a professional PCB.

Now get your multi-meter and set the switch to continuity test.Check for any unwanted connection between copper tracks.And if there are use a sharp tool to clear it.

Now get your multi-meter and set the switch to continuity test.Check for any unwanted connection between copper tracks.And if there are use a sharp tool to clear it.
#10.Now take your drill put the 0.1mm drill bit and drill all the holes for components.If you have any TO3 case transistor holes use 9/64 in drill bit.Some times diodes and diode bridges may require 0.2mm holes.I have used a TO3 case transistor here but as I'm going to use a separate heatsink I'm going to solder its wires to the PCB , so I have not drilled holes for that.
Done!

 |  |
A great post. Thanks ransara
ReplyDeleteyou're welcome
Delete