Learn an easy fix for the notorious shortcut virus that causes victim’s files on a removable drive or random computer volume to be replaced with shortcuts.
The contemporary malware environment is predominantly composed of threats whose objectives fit strictly into a commercialization context. In other words, today’s malicious programs tend to be written in order to further provide profit to their authors in one form or another. Here are just a few illustrations: the different variants of ransomware encrypt one’s files and employ smart extortion techniques to exchange the data for Bitcoins; rogue security tools report imaginary viruses on a PC and insist on the victim purchasing the worthless license so that the purportedly detected items can be eradicated; adware extensions forcibly change users’ web browsing defaults in order to serve ads and get paid for this by the interested parties. It’s all about money.
In this highly mercantile business framework, pests like the long-lived shortcut virus noticeably stand out because there seems to be no monetization background behind them. It’s like a comeback of the script kiddies’ prankish times, where the aspiration to break things was the number one priority. This, however, is a somewhat superficial and misleading first impression.

The shortcut virus, which has also been referred to as the Houdini worm, primarily affects removable media, including USB thumb drives, SD cards and other portable carriers of data. When plugged into a computer, the infected volume will be displayed in the system’s file hierarchy as a shortcut that’s only a few kilobytes large. Its contents, similarly, are going to be full of shortcuts other than the actual files. To top it off, the items usually cannot be opened in a regular way and, whenever clicked, launch the malicious program instead. The bug proper is a VBS (Visual Basic script) file, which does a few disruptive things when executed, aside from the apparent shortcut-related activity. It drops copies of itself to specific places in the affected operating system, in particular the startup configuration, temporary files folder, and the registry. Therefore, once the PC is booted up, the malware gets automatically executed, looks for removable devices plugged in, and distorts the file-level representation thereof.
Now, going back to the above-mentioned doubts regarding the shortcut virus’ purely mischief-driven goals, it turns out that the code communicates with remote attackers’ server and can thus facilitate an obscure compromise. This, in its turn, might lead to identity theft and suchlike adverse consequences. Although that’s a rare scenario, it’s worth mentioning. The malicious entity in question is also known to possibly affect the computer’s internal logical drives in the same way as it hits peripherals. Since the shortcut malware does a good job obfuscating itself, detecting it can be a challenge that not any AV can cope with. Therefore consider perusing and following the steps below to get rid of the ubiquitous annoying shortcuts and completely remove the virus itself.
Disable the shortcut virus using automatic security tool
Before you can proceed with getting the contorted files to be displayed in the regular way, execution of the shortcut virus needs to be halted. Follow these steps to prevent the malware from running:
- Download and install the featured security tool and launch an in-depth malware checkup by clicking Start Computer Scan buttonDownload Shortcut virus remover
- When the software returns a list of malicious and potentially unsafe items found on the PC, select Fix Threats in order to have the shortcut virus uninstalled from your machine. An additional virtue of this process is the elimination of other threats that may be active in the background.
Use Command Prompt to deploy the fix
- Click the Windows Start button and type cmd in the Run field
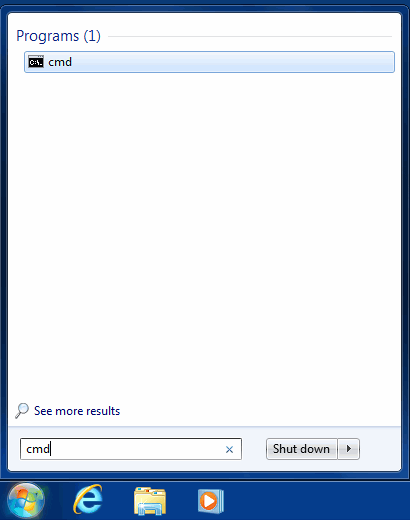
- Make sure the cmd entry proper is highlighted (see image above) and hit Enter to access the Command Prompt tool
- Type the following string: attrib -h -r -s /s /d f:\*.*, where ‘f’ stands for the name of the affected drive

- Hit Enter again to get the job done. The actual files will now be displayed.
Complete the shortcut virus removal process
Given the likely persistence of this adware sample, it’s recommended to repeatedly check the machine for its components after the cleanup procedure has been performed. Rescan your system with trusted security suite to make sure shortcut virus extermination has been successful.
Comments
Post a Comment
Like our post?
Want to know more?
Please ASK!